How to configure mobile Outlook App with Hosted Exchange 2016
Setup Outlook App for Exchange
The purpose of this documentation is to provide end-users complete configuration steps on how to setup Outlook App for Exchange 2016 email services. In this example an iPhone SE on IOS 13.5.1 was used.
Prerequisites:
- Subscribed to a Hosted Exchange 2016 account or Hosted Exchange 2010 account
- Activesync enabled on your hosted exchange mailbox
- Microsoft Outlook app installed on phone
Updated 10/8/2020
- Install the Outlook app on your iOS or Android device.
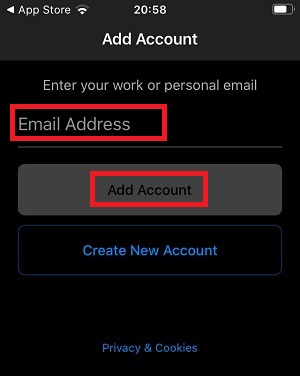
- Load the Outlook app and enter in your email address. Select Add Account to proceed.

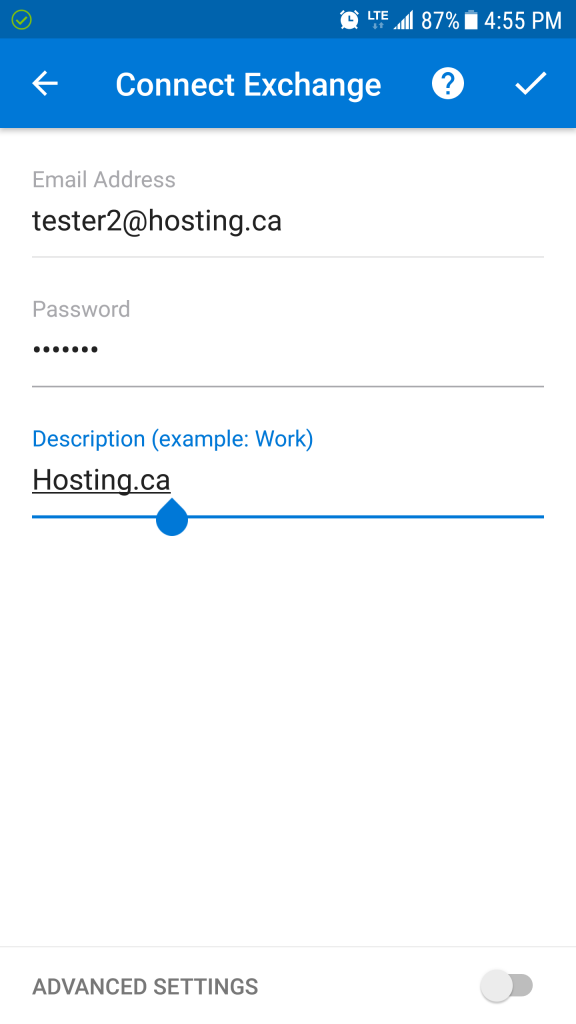
- Enter your email address password and give it a description. You can also toggle the advanced settings icon.

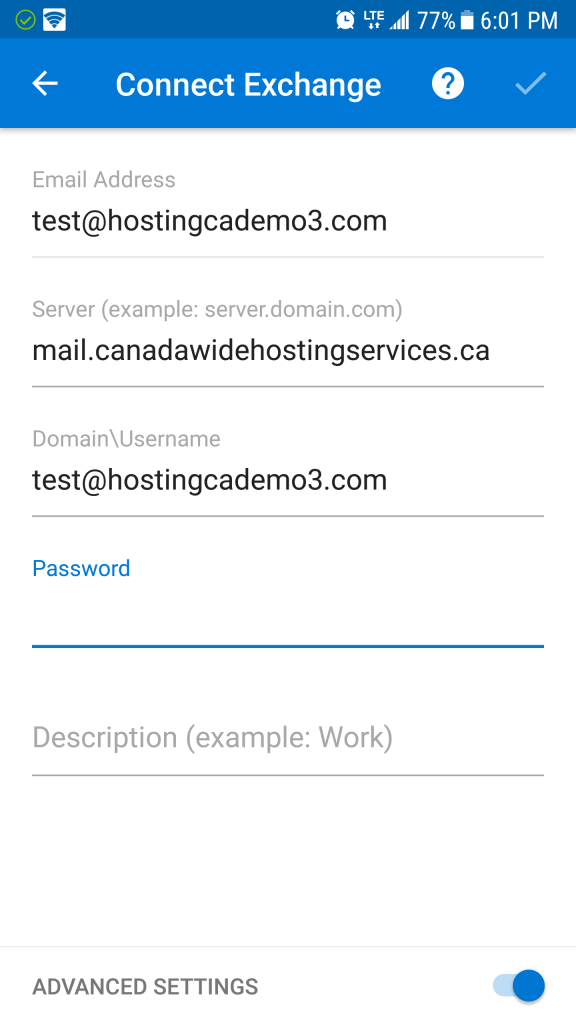
- Enter in the advanced details

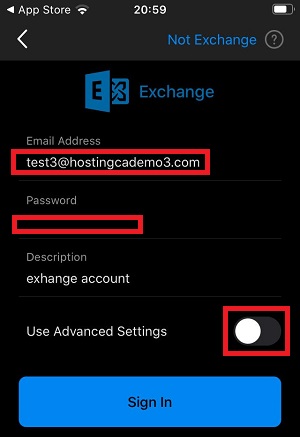
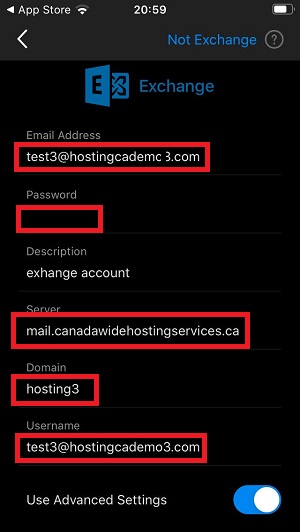
Exchange 2016 Services:
Server : mail.canadawidehostingservices.ca
Domain: hosting3
Username: Your email address
Exchange 2010 Services:
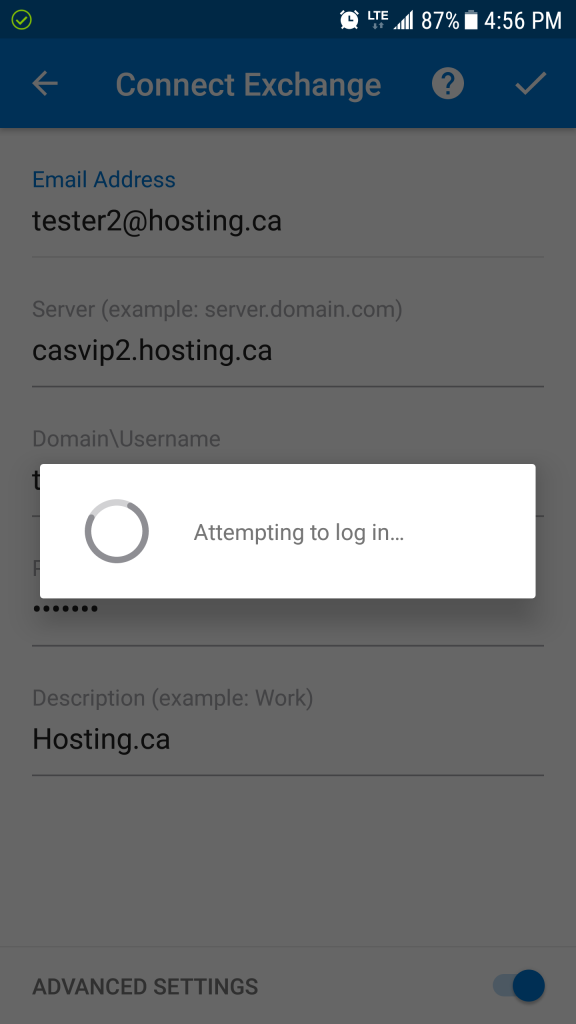
Server : casvip2.hosting.ca
Domain: hosting
Username: Your email address
Old Outlook App version below. Screenshots were from an Android Samsung S7.
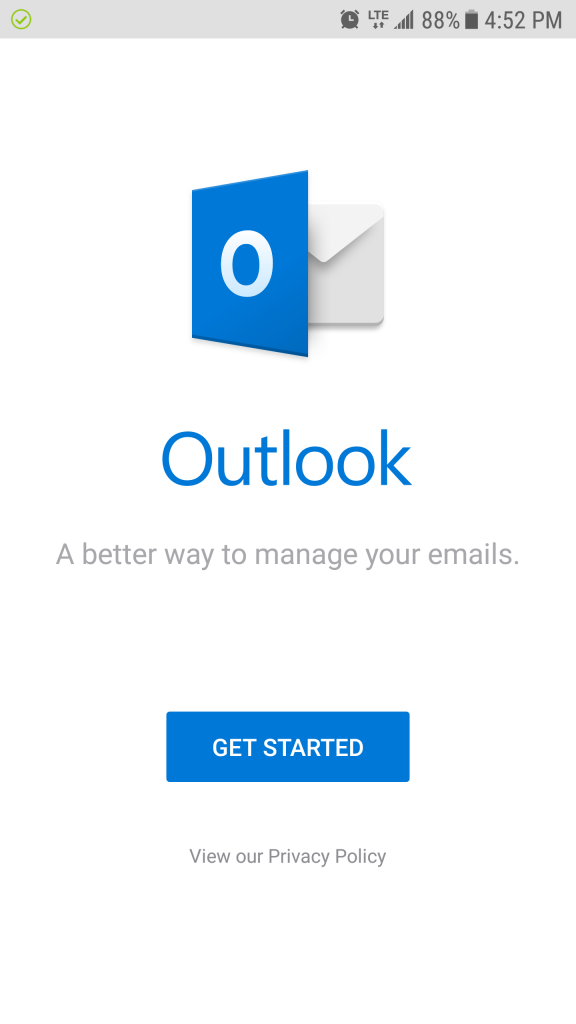
1. From your phone, open the Outlook app. Select “Get Started” to start the setup process.
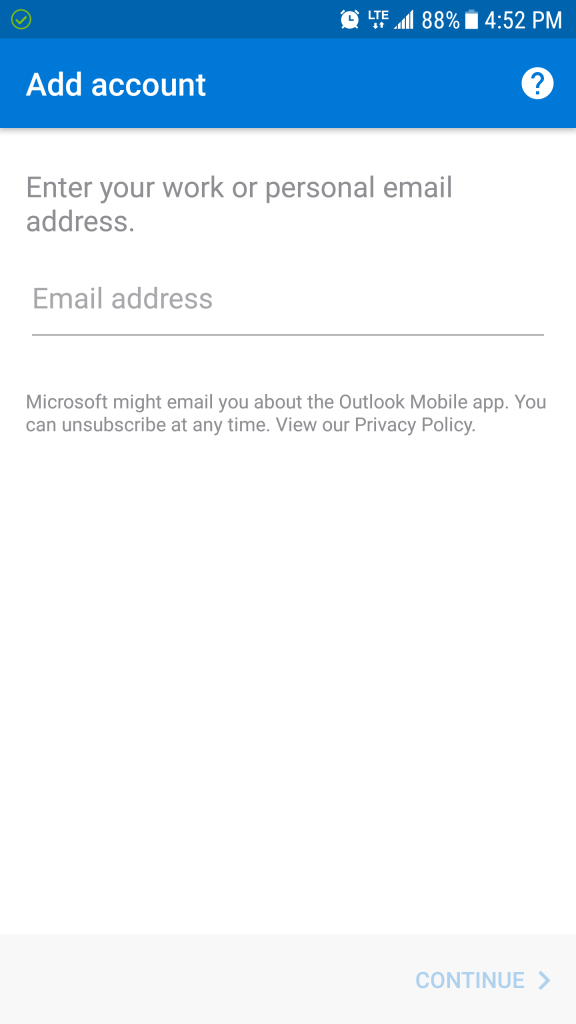
2. Enter in your full email address. Select continue on the bottom right.
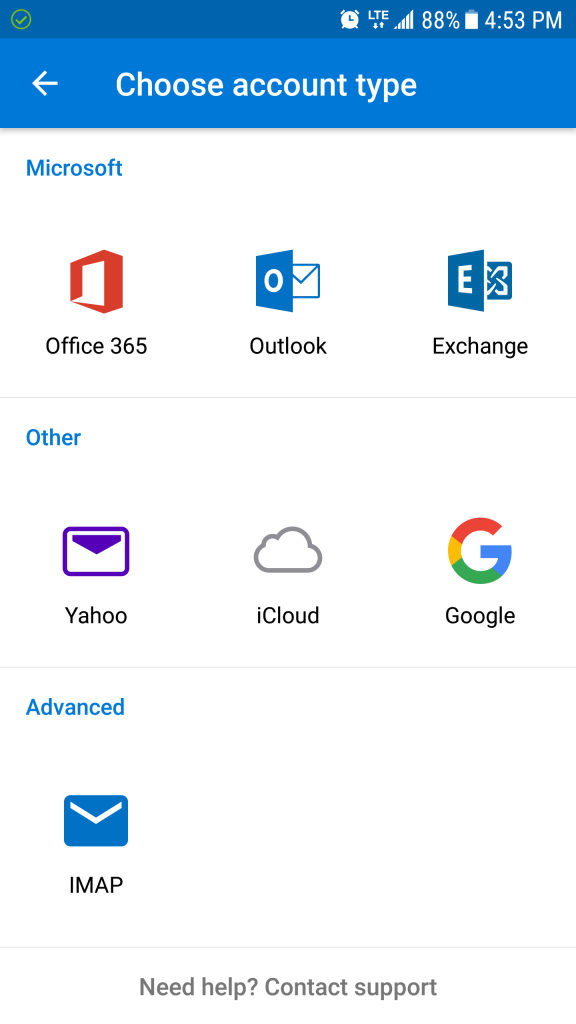
3. Choose your account type. Since we are adding an Exchange account, select the “Exchange” icon.
4. Enter in your password for your email account. Also give it a description label to identify the account. Select the check mark on the top right to verify the settings.
5. If your account does not auto configure. It will ask you for additional details. Expand the “Advanced Settings” or you may be brought to the screen prompting for details.
The Server name will be: mail.canadawidehostingservices.ca
The Domain\Username will be your full email address.
Select the check mark on the right to proceed and verify details.
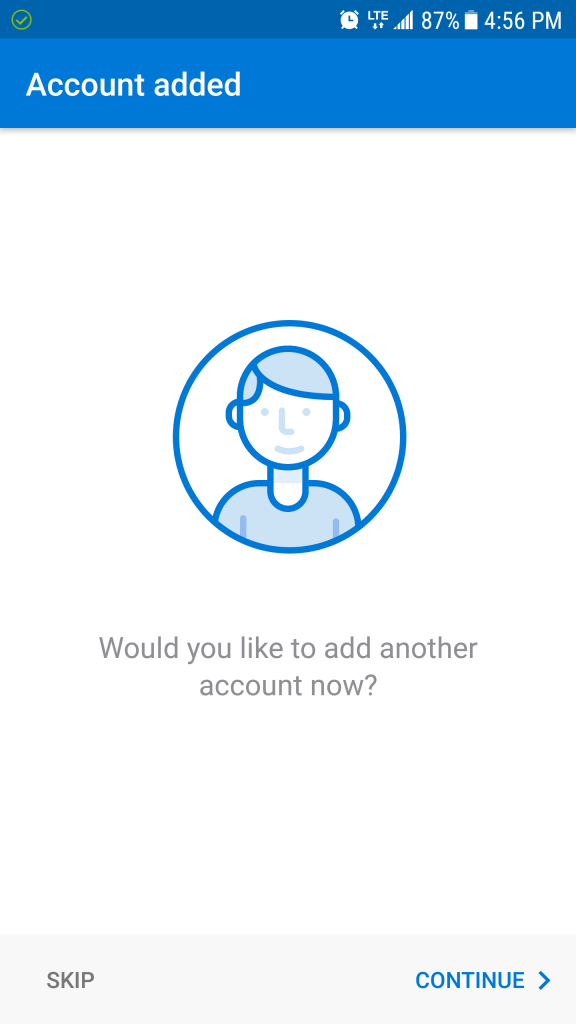
6. Once the account is added and you have no more to add. Select skip.
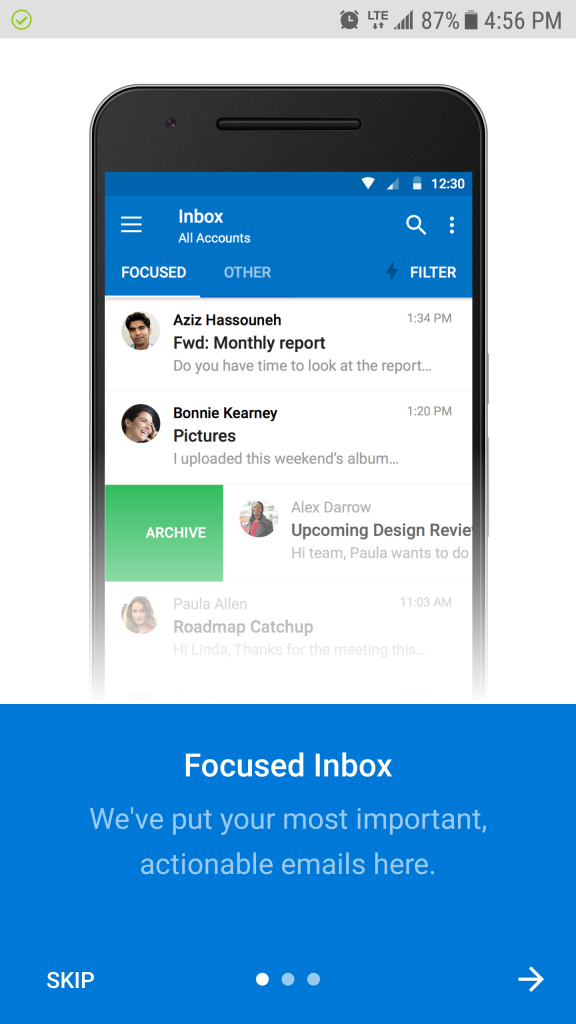
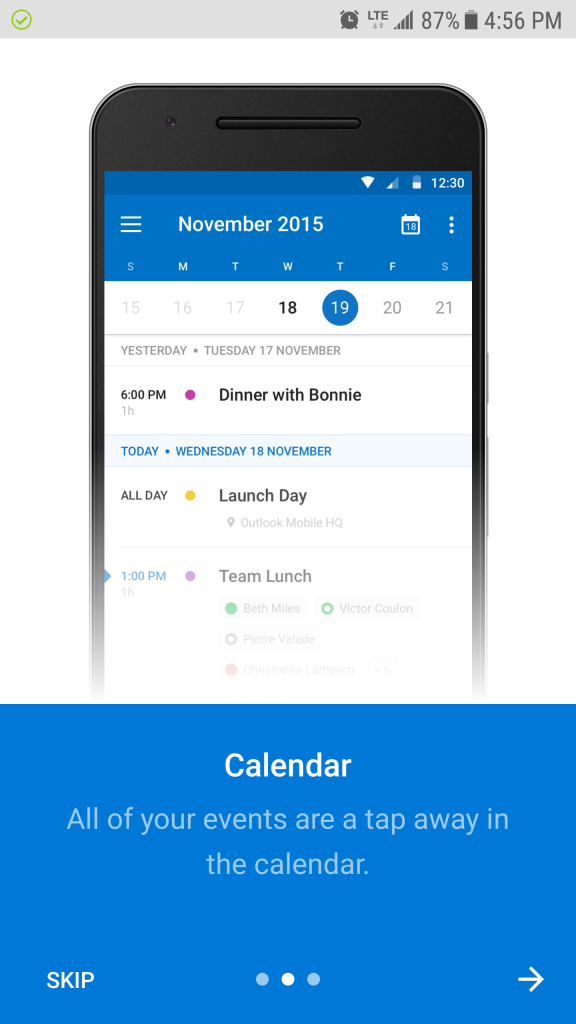
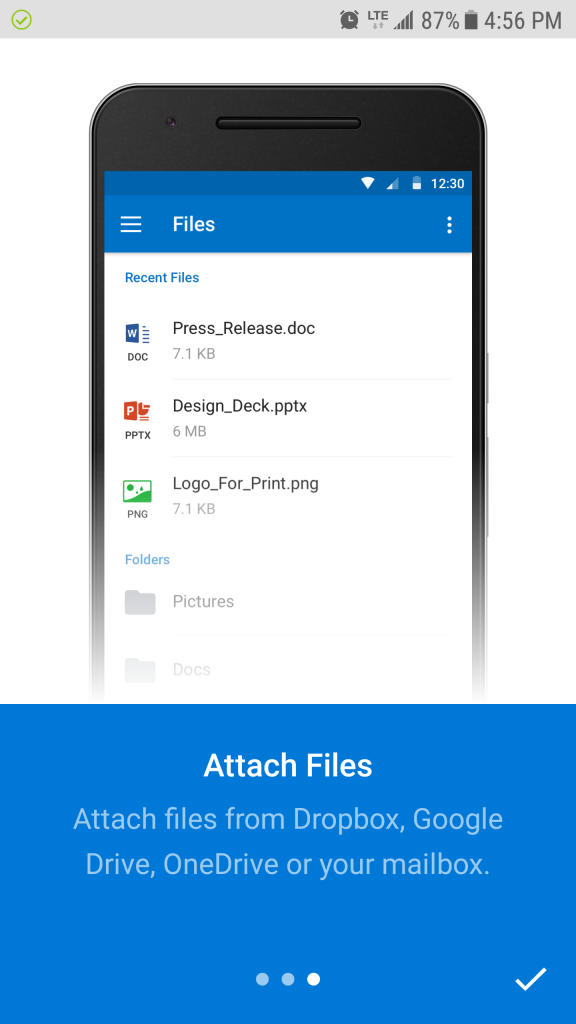
7. You will see some notes on the application.
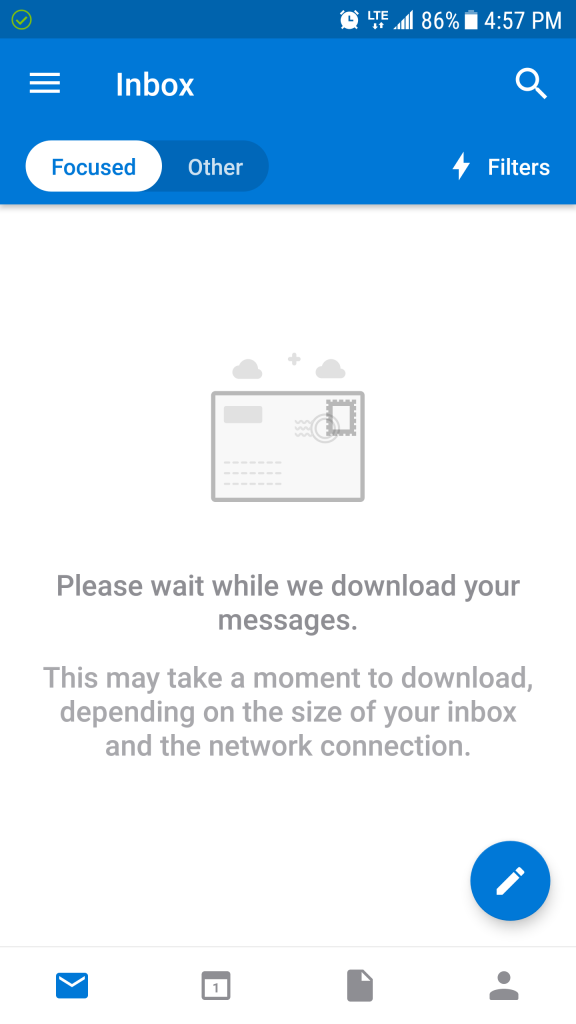
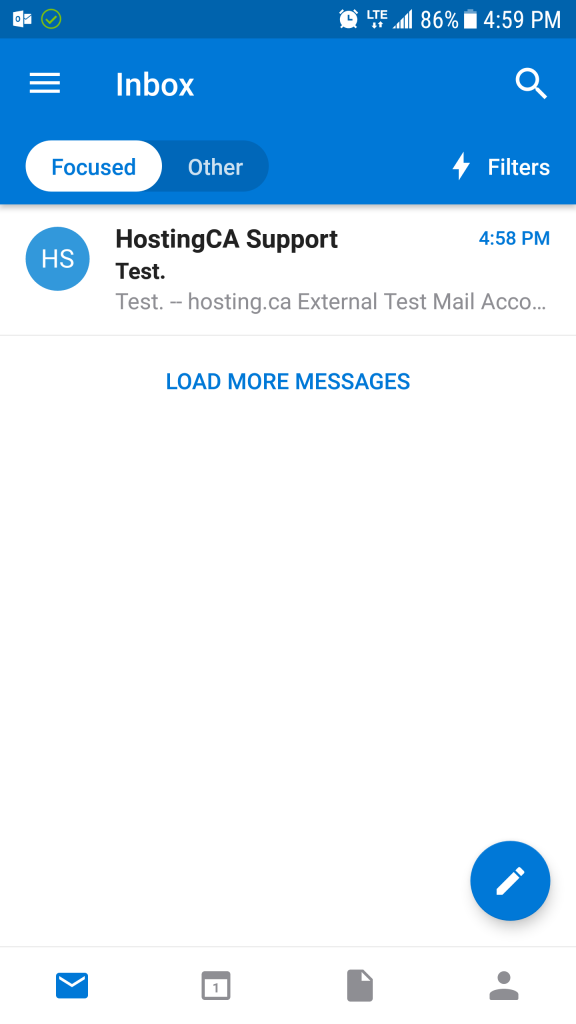
8. Your email, calendars and contacts will sync to your phone. This is now complete. For additional advanced settings, follow the steps below.
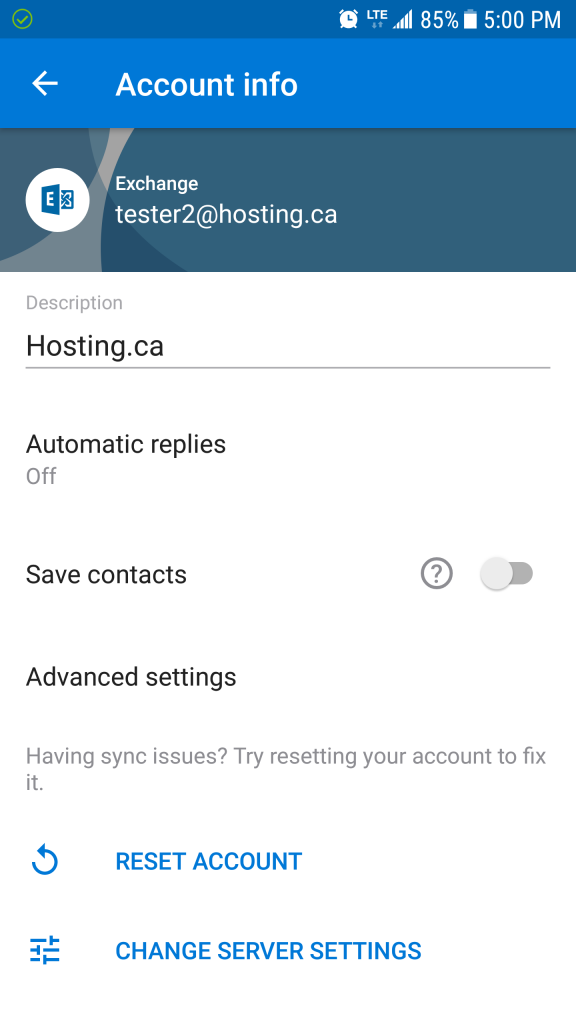
Changing Advanced Settings
If you would like to change:
- Syncing folders
- Notifications
- Signature
- Setting auto reply
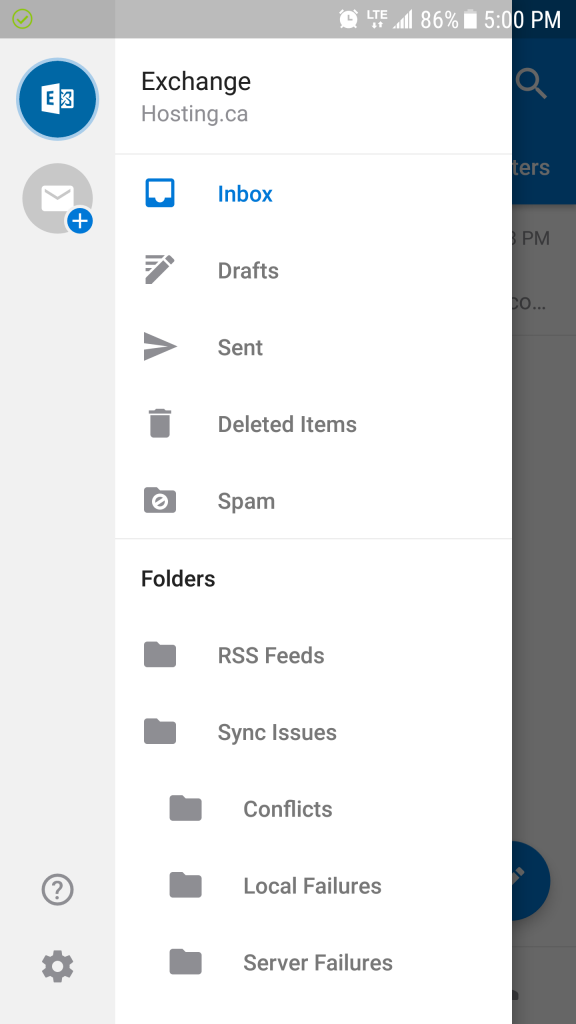
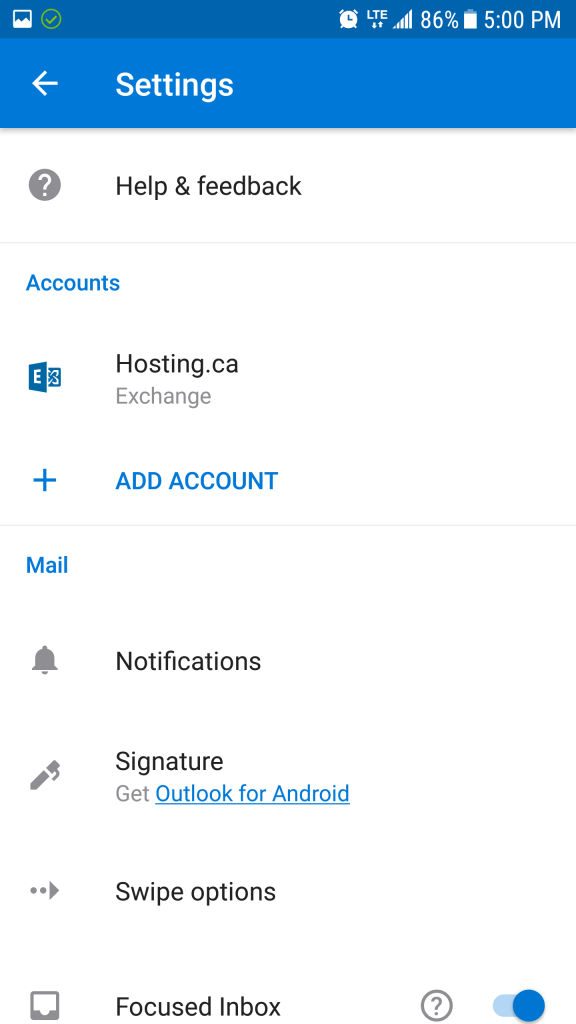
Press the menu button on the top left and you will see the “settings” gear-like icon on the bottom left.
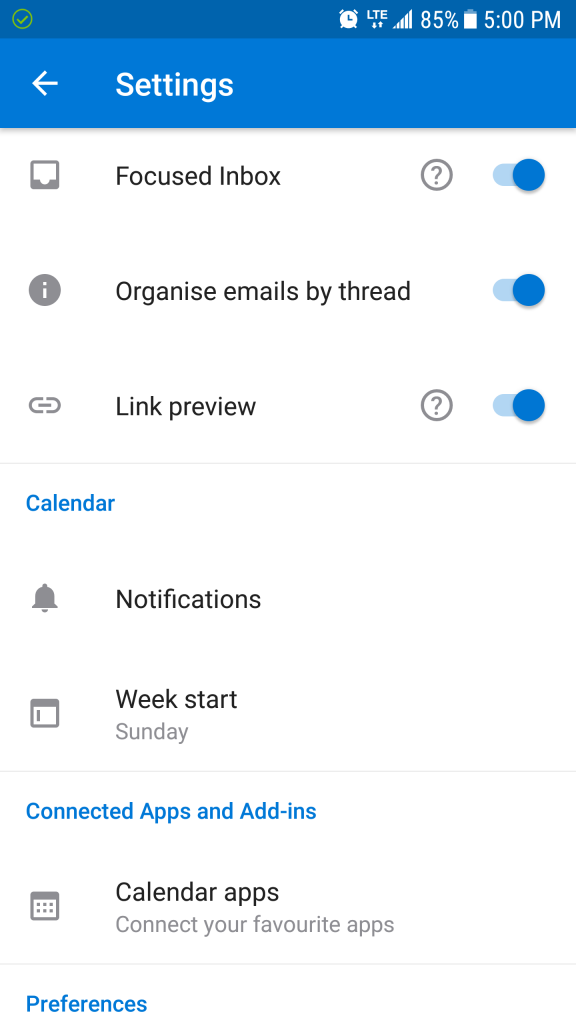
Settings Screen for notifications, signature and other options.
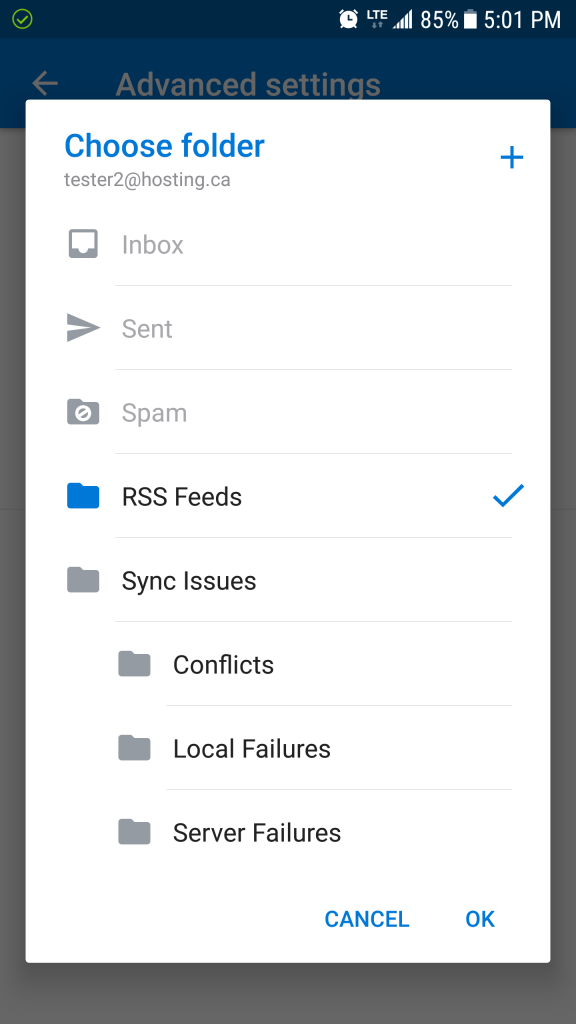
Advanced Settings – Folder syncing
Folders Management
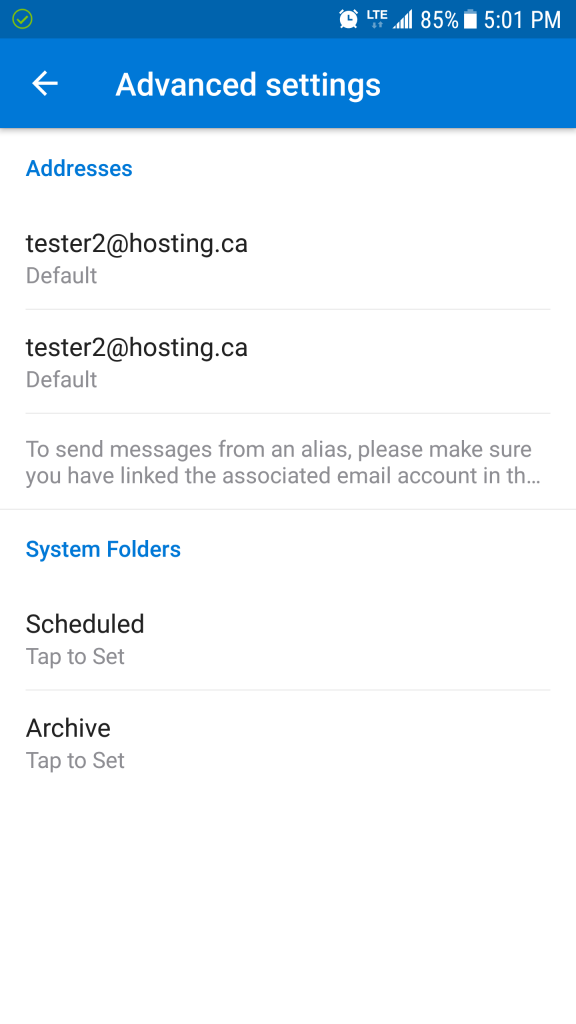
Select the folders you wish to sync or archive.