Exchange 2019 iPhone Setup
Exchange 2019 iPhone Setup on any iOS 14.x Device. Exchange 2019 iphone setup Howto. There are two methods in this document. The first is using the sign-in method, and the other is for a manual setup (preferred)
iOS14 has fixed the autodiscover, and this means that it will make sure that your mailbox will be added to your phone automatically without entering in server names.
Introduction:
The purpose of the following documentation is to provide end-users with complete configuration steps in setting up an iPhone with Exchange 2019. So here are the instructions on how to get this working and set up properly.
Requirements:
- An Exchange 2019 mailbox setup in the panel with ActiveSync enabled. Please verify that your mailbox password is correct by logging into OWA 2019.
- Please be sure that the DNS settings are set up properly for your domain. See our Exchange 2019 DNS Settings.
Method #1 Steps: (auto configure)
- From the home screen, select the Settings
- Scroll down and select Mail. And choose Accounts. Select Add Account to add your mailbox.
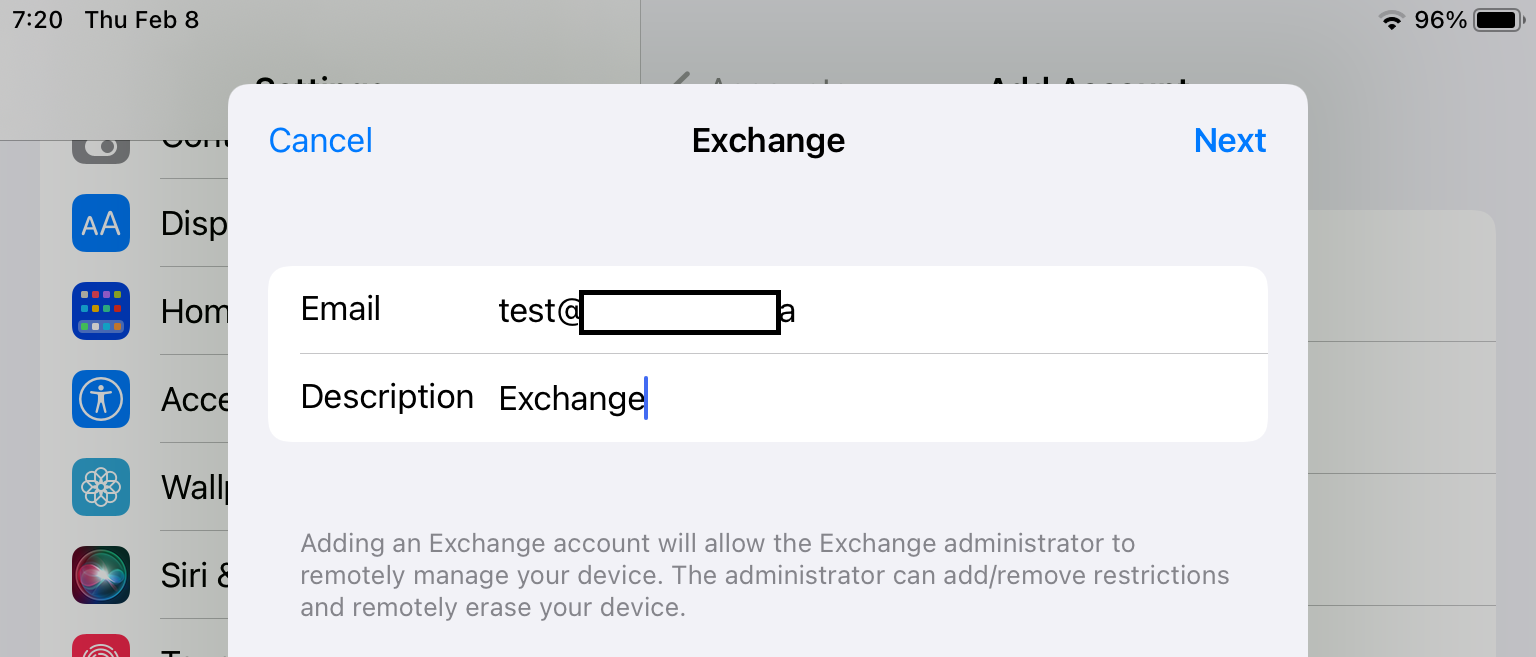
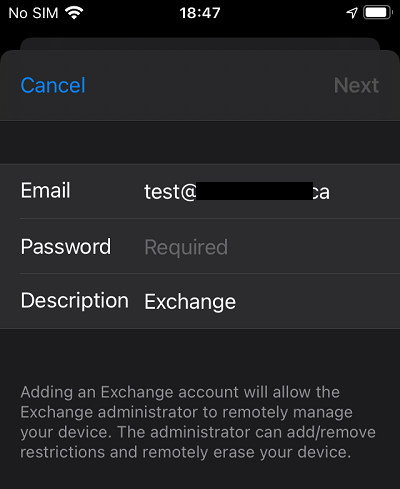
- Enter in your full email address, and an optional description. Select next to continue.

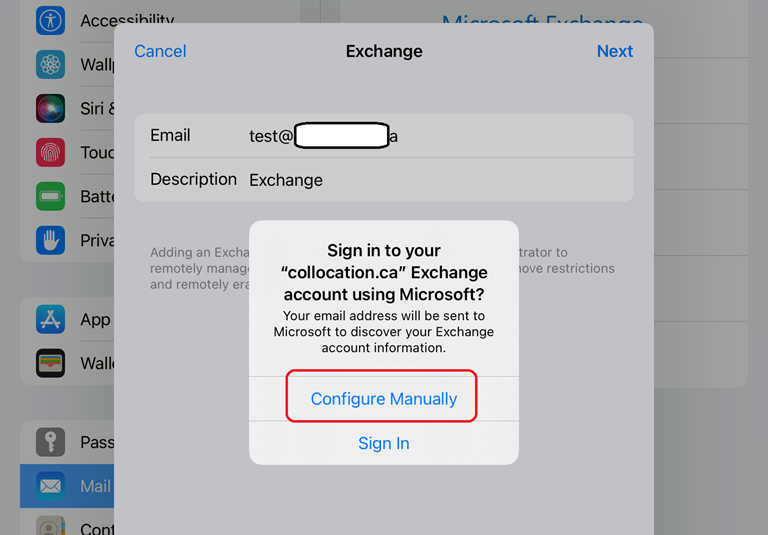
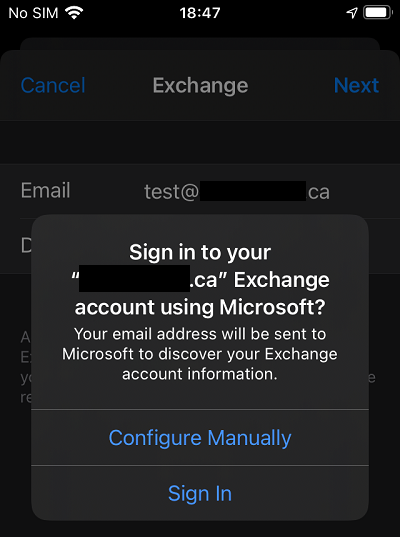
- Because iOS14 it will ask you to sign in or configure manually. Choose Sign In as it will auto configure for you.

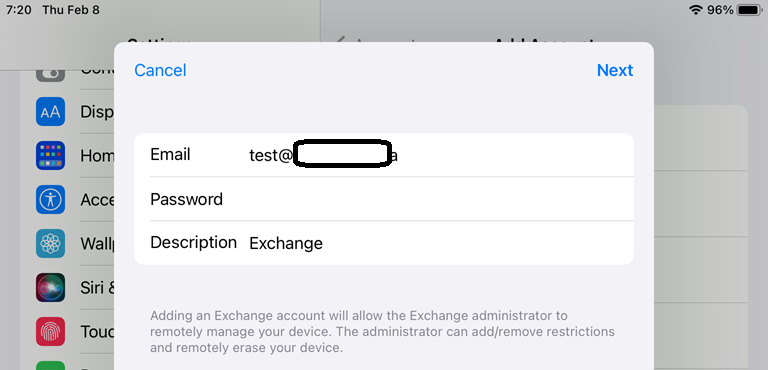
5. Enter in your email password.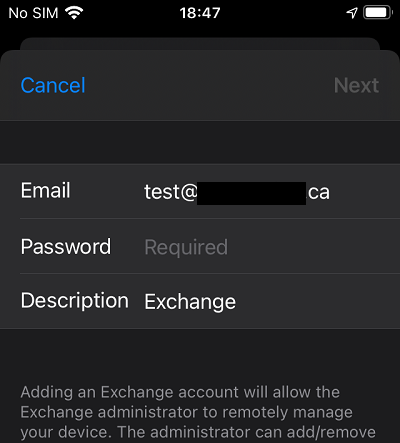
6. If your credentials are successful, the items will have a blue checkmark. It will continue to the next page automatically.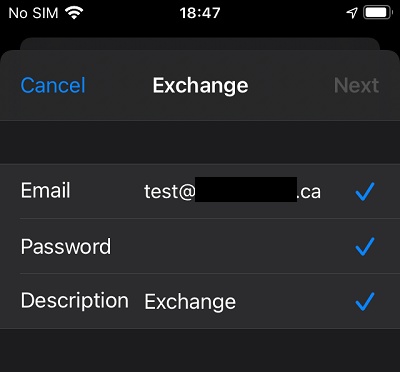
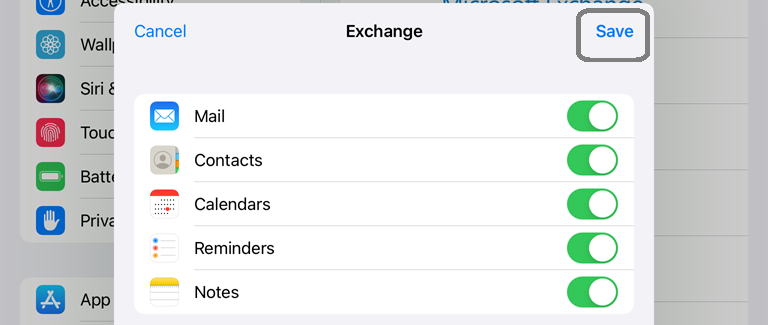
7. After verifying the mailbox details, you will be able to select the items to sync. Select Save to save your new exchange account to the device.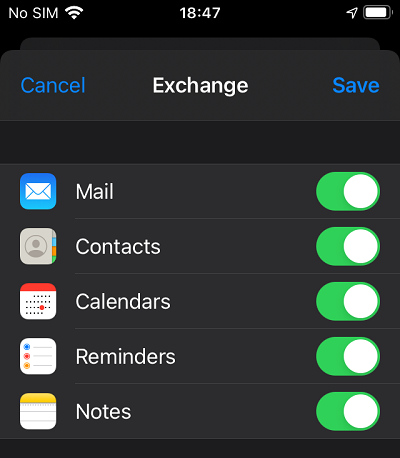
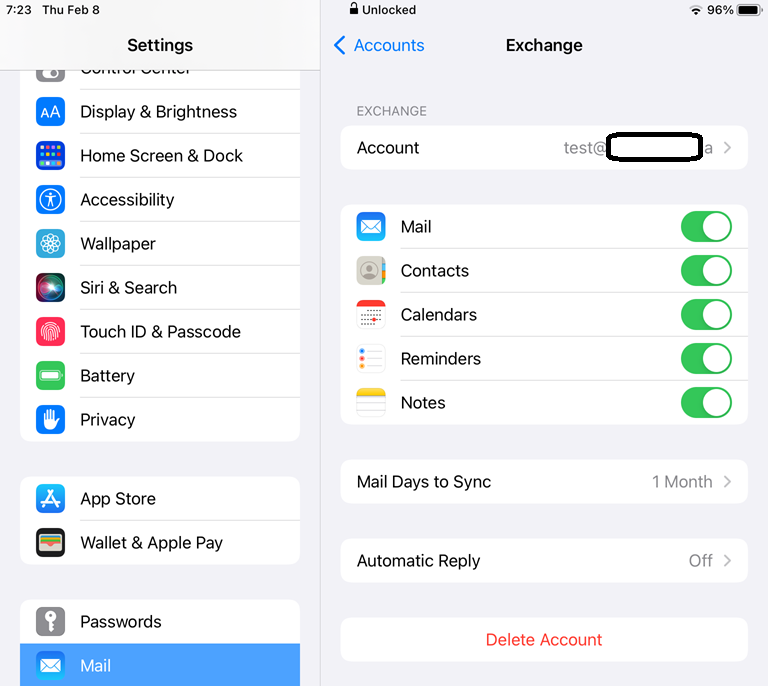
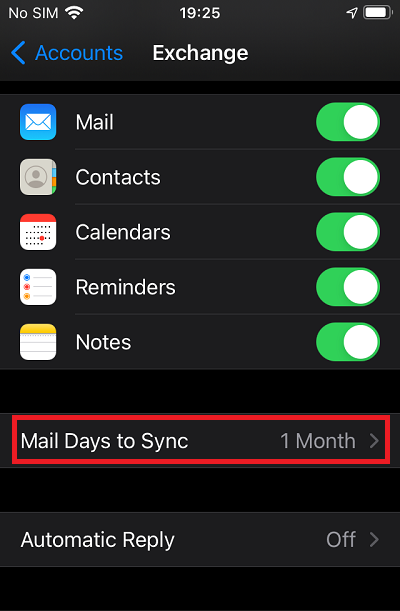
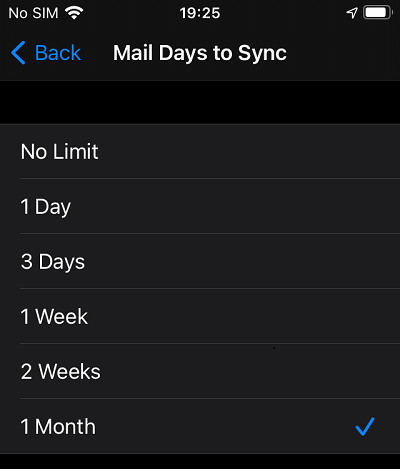
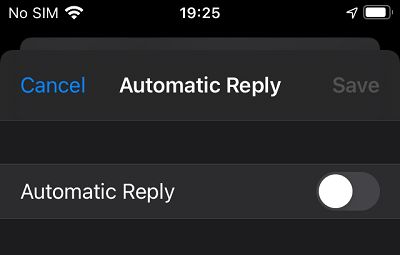
After saving, the account has been added successfully to your device. If you want to check the settings in detail, you can go into the account. You can change the number of days to sync and turn on your autoreply.
Method #2. Manually Configured. iOS 17.x was used in this sample.
- Go to settings icon.
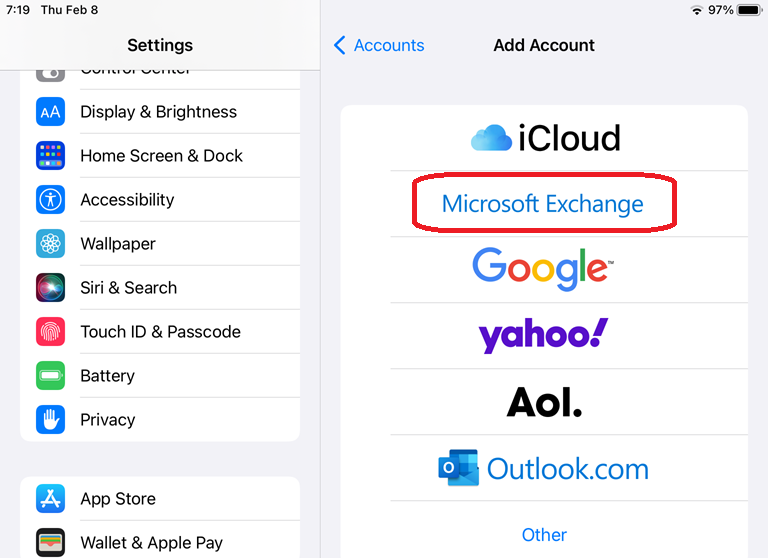
- Mail -> Accounts. Select the “Microsoft Exchange”

- Enter in your full email address.

- Select “Configure Manually”.

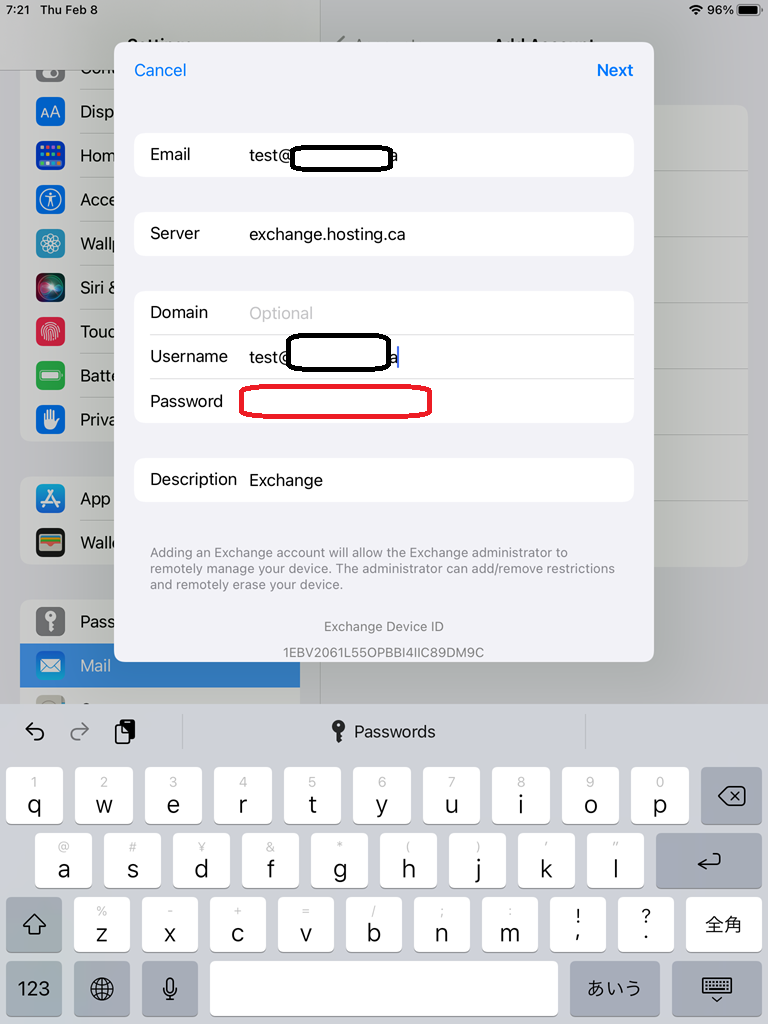
- Enter in your full email address and password.

- Make sure server name is “exchange.hosting.ca” , and domain name is empty, and you enter in the password for your mailbox.

- Items will verify your authentication, and be checked.
- Save the items that you are wanting to sync.

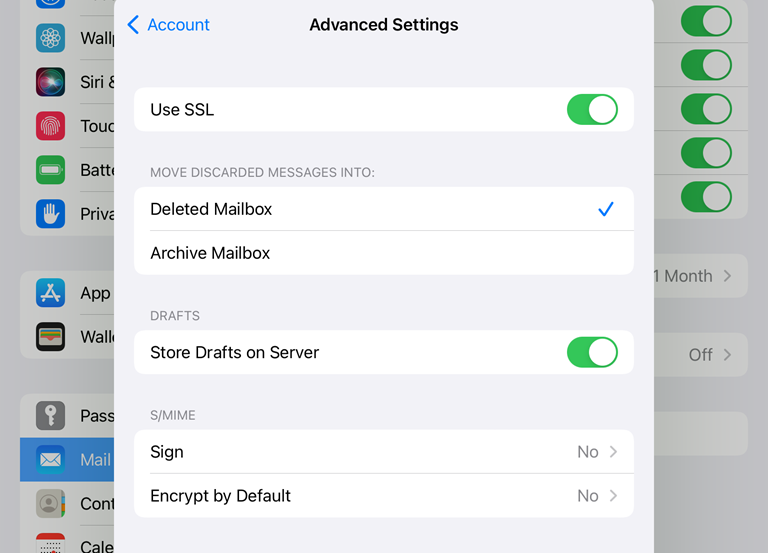
- The account has been added. You can edit the options further if you want by going to the account details.